
Instructions
Placing the floor register
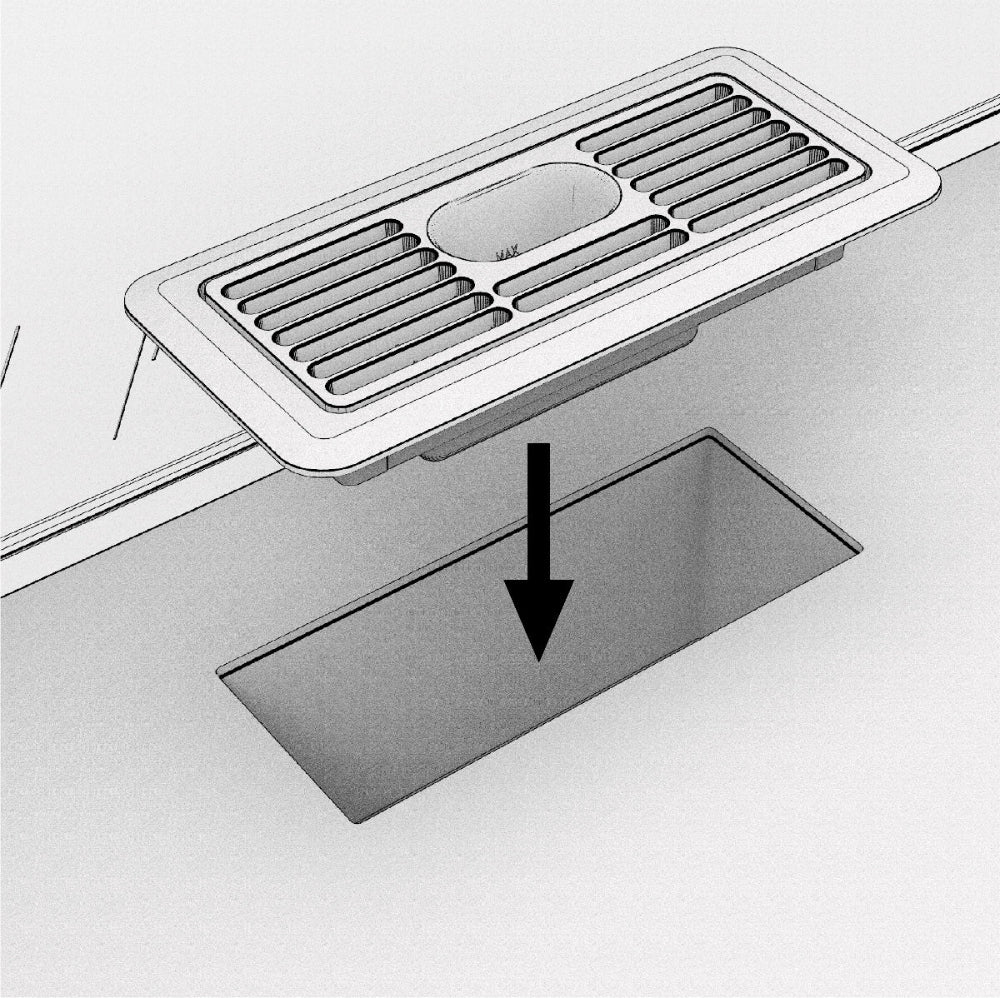
Locate the floor opening where the vent will be installed. If there is an existing vent, first remove it. Place EverVent into the opening, ensuring that the side with the top opening is facing the wall. This orientation provides optimal airflow and makes it easier to see the "MAX" water level indicator.
(optional) Securing the Vent to the floor
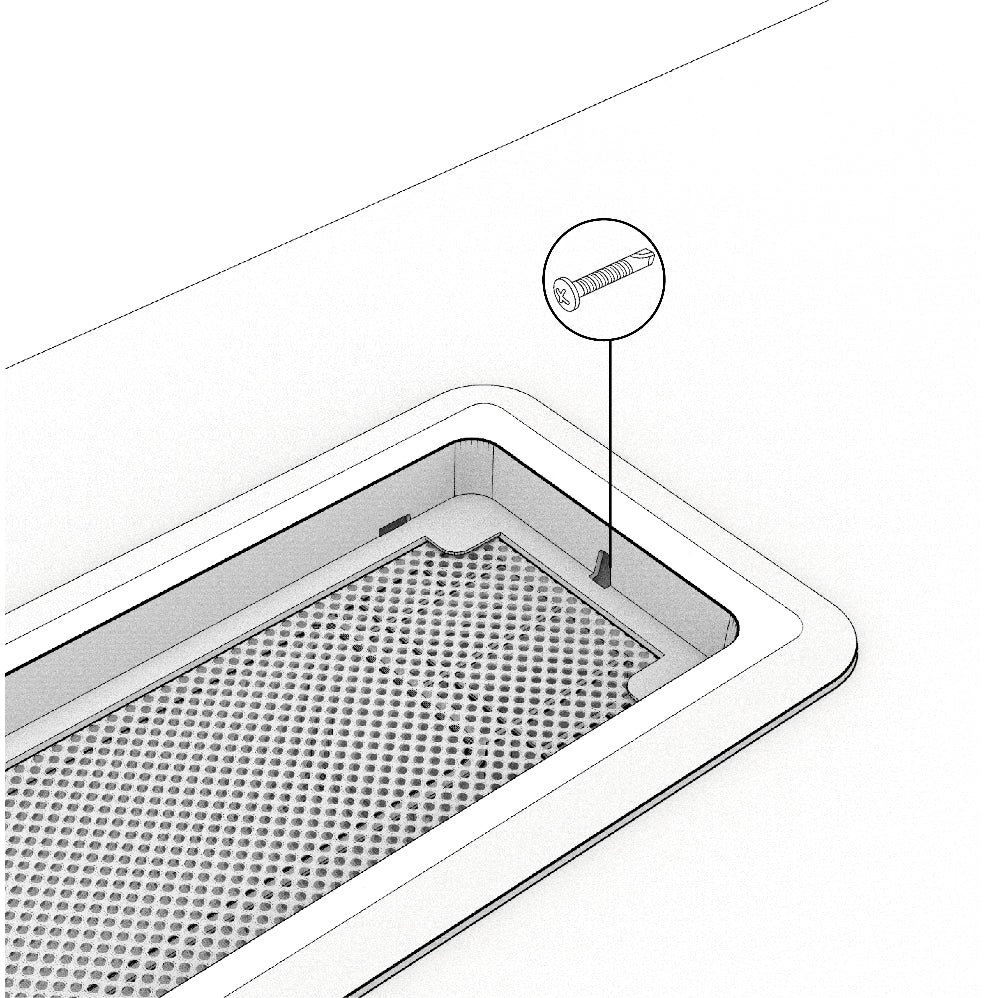
If desired, you can child-proof EverVent by securing it to the floor using screws. With the vent in place, separate the top cover by pulling it firmly upward until it snaps loose. Set the cover aside and locate the screw holes on either side of the base. Use either wood screws or self-drilling screws. If using wood screws, drill a small pilot hole through the center of each screw opening with a drill bit slightly narrower than the screw. Then, drive the screw into place.
Before finishing installation, test the fit of the top cover by snapping it back into place. If it doesn’t fit properly or doesn’t sit flush, the screw heads may be too large—try using smaller screws. Repeat the process for the other side.
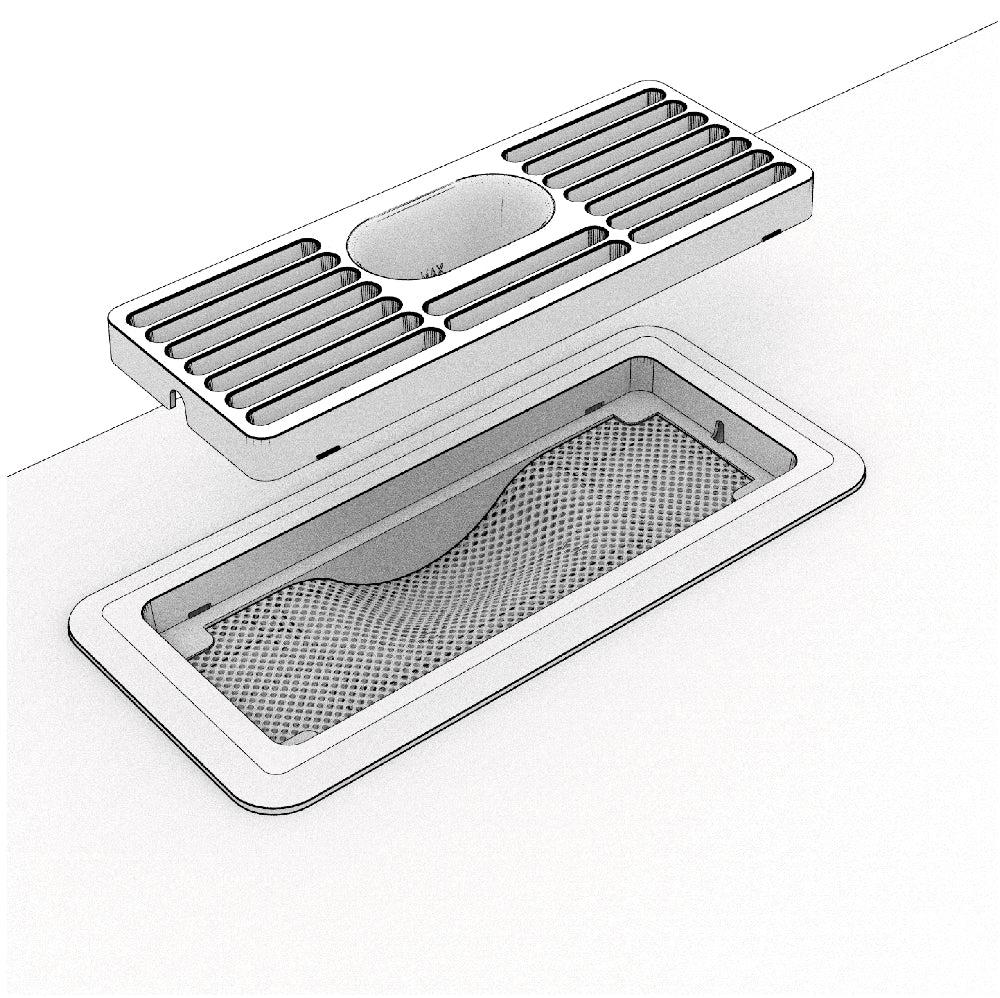
Securely snap the top cover back on.

All set!
Installation is now complete! If you’d like to use the optional humidification feature, pour up to 300ml (10 oz) of water into the large opening. Be careful not to exceed the "MAX" fill line. And remember, adding water is just for humidification, the dust filtering is as effective with or without water inside the reservoir.
Maintenance
Replacing the Filter
We recommend changing the filter every 3 to 6 months, depending on how dirty it becomes. If the filter feels crusty or emits an odor, replace it sooner.
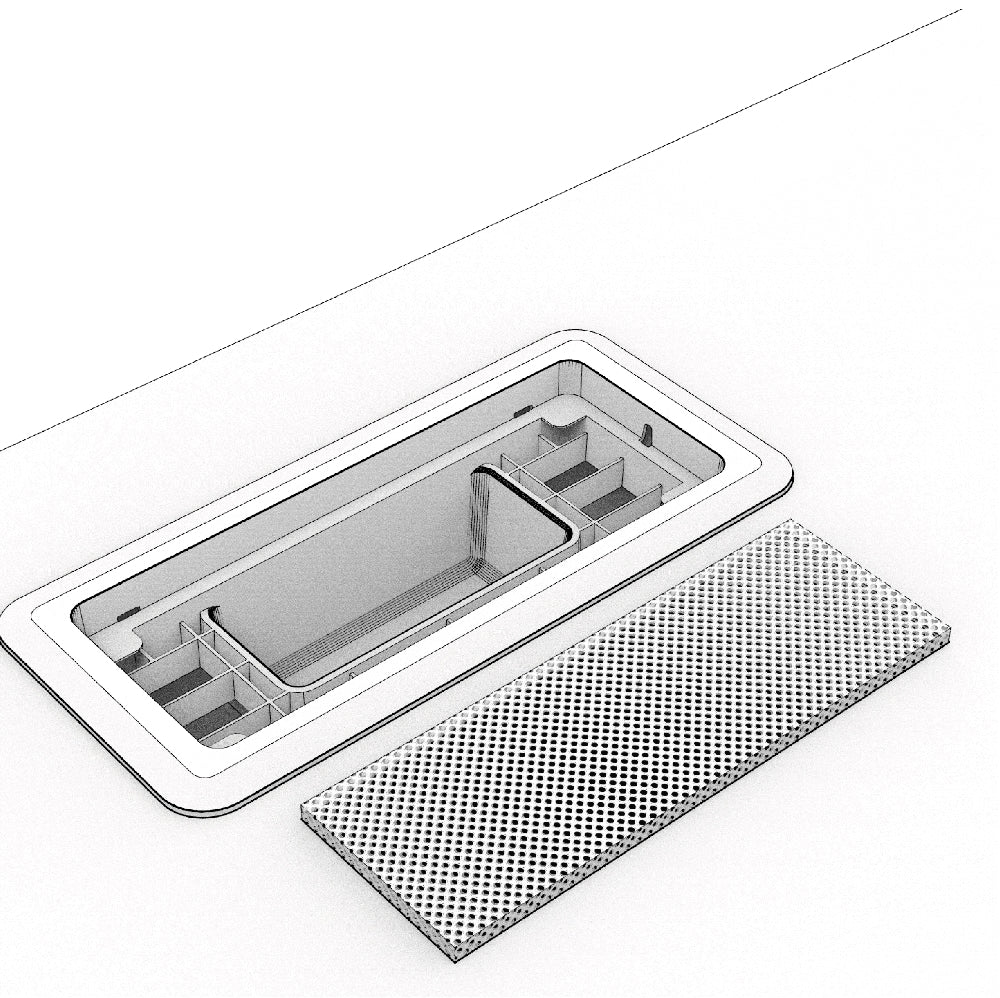
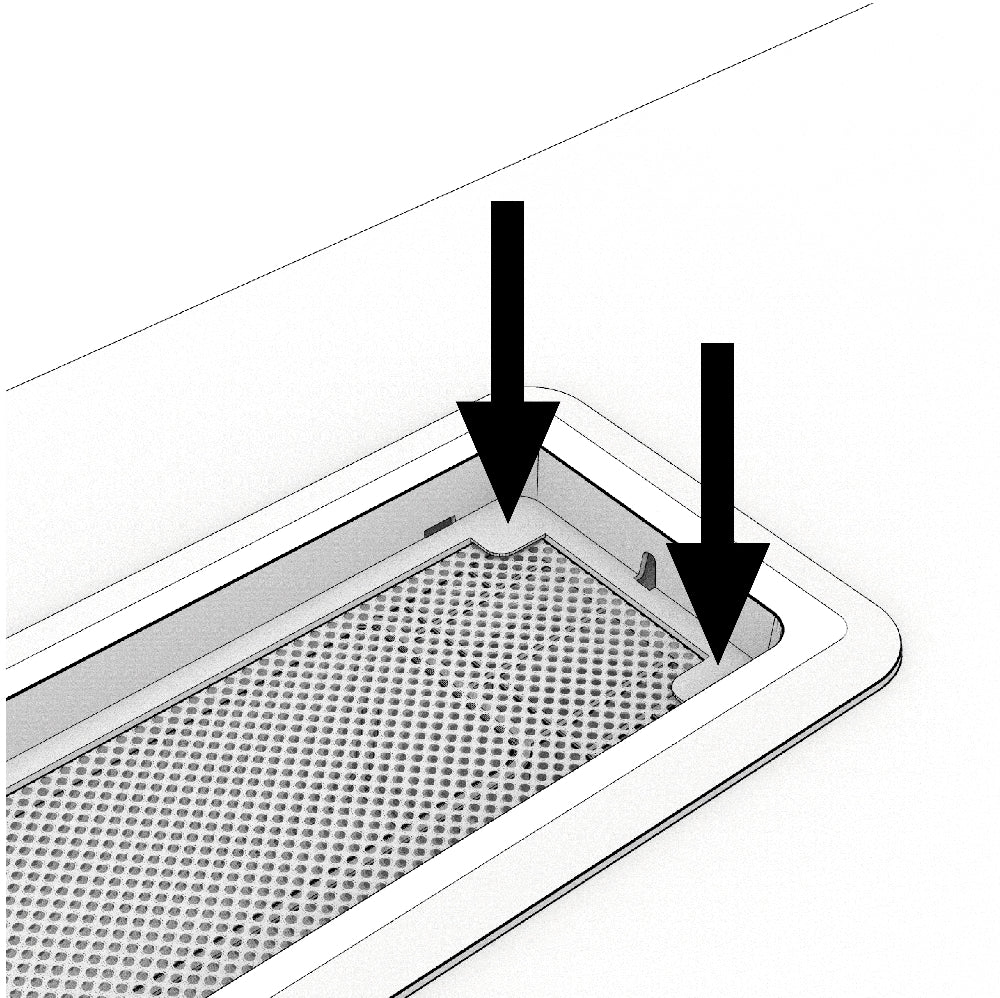
Start by removing the top cover and setting it aside.
Installing the New Filter
Carefully remove the old filter from the base and discard it. Place a new filter inside the floor register, ensuring it sits properly in the designated space.
Securing the Filter & Finishing Up
Make sure the corners of the filter are tucked securely under the corner tabs of the base to ensure a snug fit. Finally, snap the top cover back into place. Your EverVent is now ready to use again!